Materials Needed
- Printable sticker paper (or printable vinyl)
- Printer
- Sticker template
- Cricut – I use use the Joy Xtra
- Cricut Design Studio
Instructions
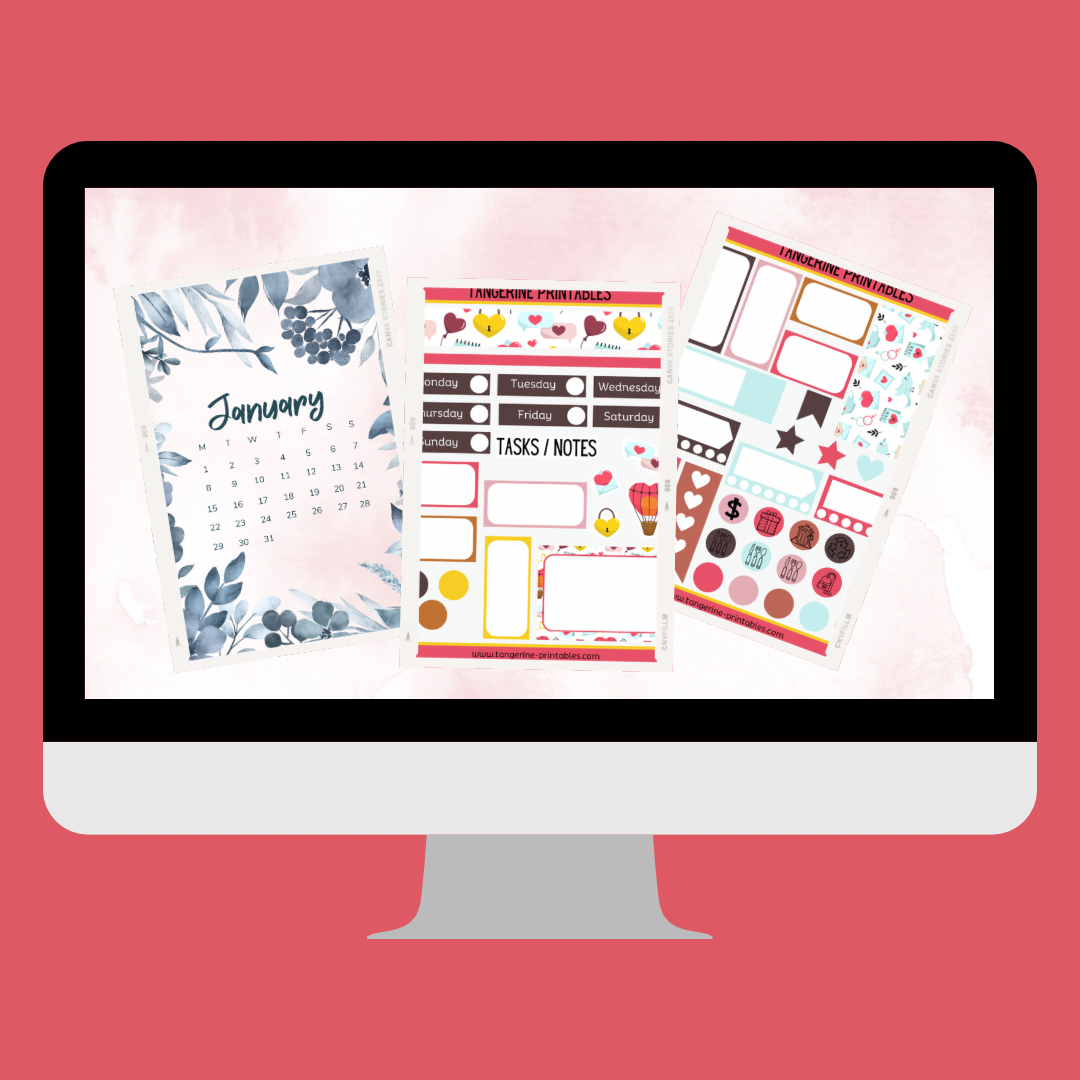
Download a sticker template to work with. I’ll be using my neutral weekly A6 kit for this tutorial. You can download it for free below.
Open Cricut Design Studio and select upload
Upload the sticker set image. Select Complex, and then Print and Cut. In the mobile app, it won’t ask you to select complex.
Add the image to the canvas
If using my A6 templates, resize the sticker sheet to 3.74 inches. Make sure the lock is selected, so that the height adjusts automatically.
Adding a background / creating a sticker sheet
If we add just the image, we will get nicely cut out stickers, but they will remain on the large letter sized paper. You could definitely just cut this out to your preferred size, but I like to add a background image and make this into a sticker sheet for a professional looking finish.
In order to do this, we need the Cricut machine to cut out an outline around our selected background as well as kiss cut the individual stickers.
For these steps I will be using my neutral A6 sticker sheet background, this is available to download below.
Upload the background image to Cricut Design space, select Complex image, and then Print and Cut.
Add the image to your canvas
Duplicate this image 3 more times (you should have 4 total).
Since we can’t set this machine to do different cut lengths, if we don’t duplicate this image, it will kiss cut the background image just like the stickers. To get the machine to cut all the way through instead, we will essentially be cutting out the sticker 4 times. The machine will do the same cut 4 times and this will then cut through the paper completely.
Stack the background images on top of each other, and click group. You want to be sure they are exactly on top of each other. I like to adjust the positioning by setting the x and y axis to 3 for all of the backgrounds.
After the backgrounds are stacked and grouped you can move this around anywhere you like.
Move the sticker sheet image on top of the background image and center.
Then select both the background group and the sticker image and select attach. This will make sure the images stay stacked when they are printed.
Cricut Cut settings
Once you have lined up your images the way you want, it is time to click Make to print and cut our stickers.
You will likely need to adjust your setting based on your specific machine and your paper settings. Unfortunately it does take some trial and error to find the settings that will work for you.
Here are some of the setting I use below:
Cricut Joy Xtra with Koala Matte sticker paper
Material Setting: Smart writeable label, less pressure.
Notes / Troubleshooting
I have run into an issue with using the Cricut Design Studio app for mobile. If you are using the app and your machine will only cut the background image and not the stickers set on top, try using the desktop version of the software. For some reason when I use the app, it doesn’t cut correctly, but it works in the desktop version.
Leave a Reply